Programmable hardware TOTP token in a card format that fits any authentication system
Classic hardware TOTP token with SHA-1 algorithm support
Programmable hardware TOTP token in a key fob format that fits any authentication system
Classic hardware TOTP token with SHA-256 algorithm support
Programmable hardware TOTP token in a card format that fits any authentication system
Classic hardware TOTP token with SHA-1 algorithm support
Programmable hardware TOTP token in a key fob format that fits any authentication system
Classic hardware TOTP token with SHA-256 algorithm support
A free 2FA authenticator app with cloud backup, easy token transfer to a new phone, PIN and biometric authentication protection
Free OTP delivery with chatbots in messaging apps
Delivery of one-time passwords via SMS messages
Free delivery of one-time passwords via email
Free one-time passwords delivery via push notifications
Guides
Integrating Protectimus’s multi-factor authentication solution enables a straightforward setup for Cisco Meraki Client VPN two-factor authentication (2FA), requiring just a few minutes to configure. By implementing MFA as an extra security layer, the Cisco Meraki Client VPN system ensures that only authorized users can access it, significantly enhancing protection against potential cyber threats.
In the current era of widespread remote work, establishing a secure remote access system is of paramount importance. Protectimus offers a multifactor authentication solution for Cisco Meraki Client VPN, guaranteeing that even if a user’s login credentials are compromised, their access to the VPN remains safeguarded. Two-factor authentication serves as a strong defense against various cyber threats, including phishing, brute force, social engineering, MITM, and data spoofing attacks, thereby ensuring the security of your organization’s data and resources.
Protectimus allows secure access to your Cisco Meraki Client VPN by providing multi-factor authentication (MFA) using the Protectimus RADIUS server.
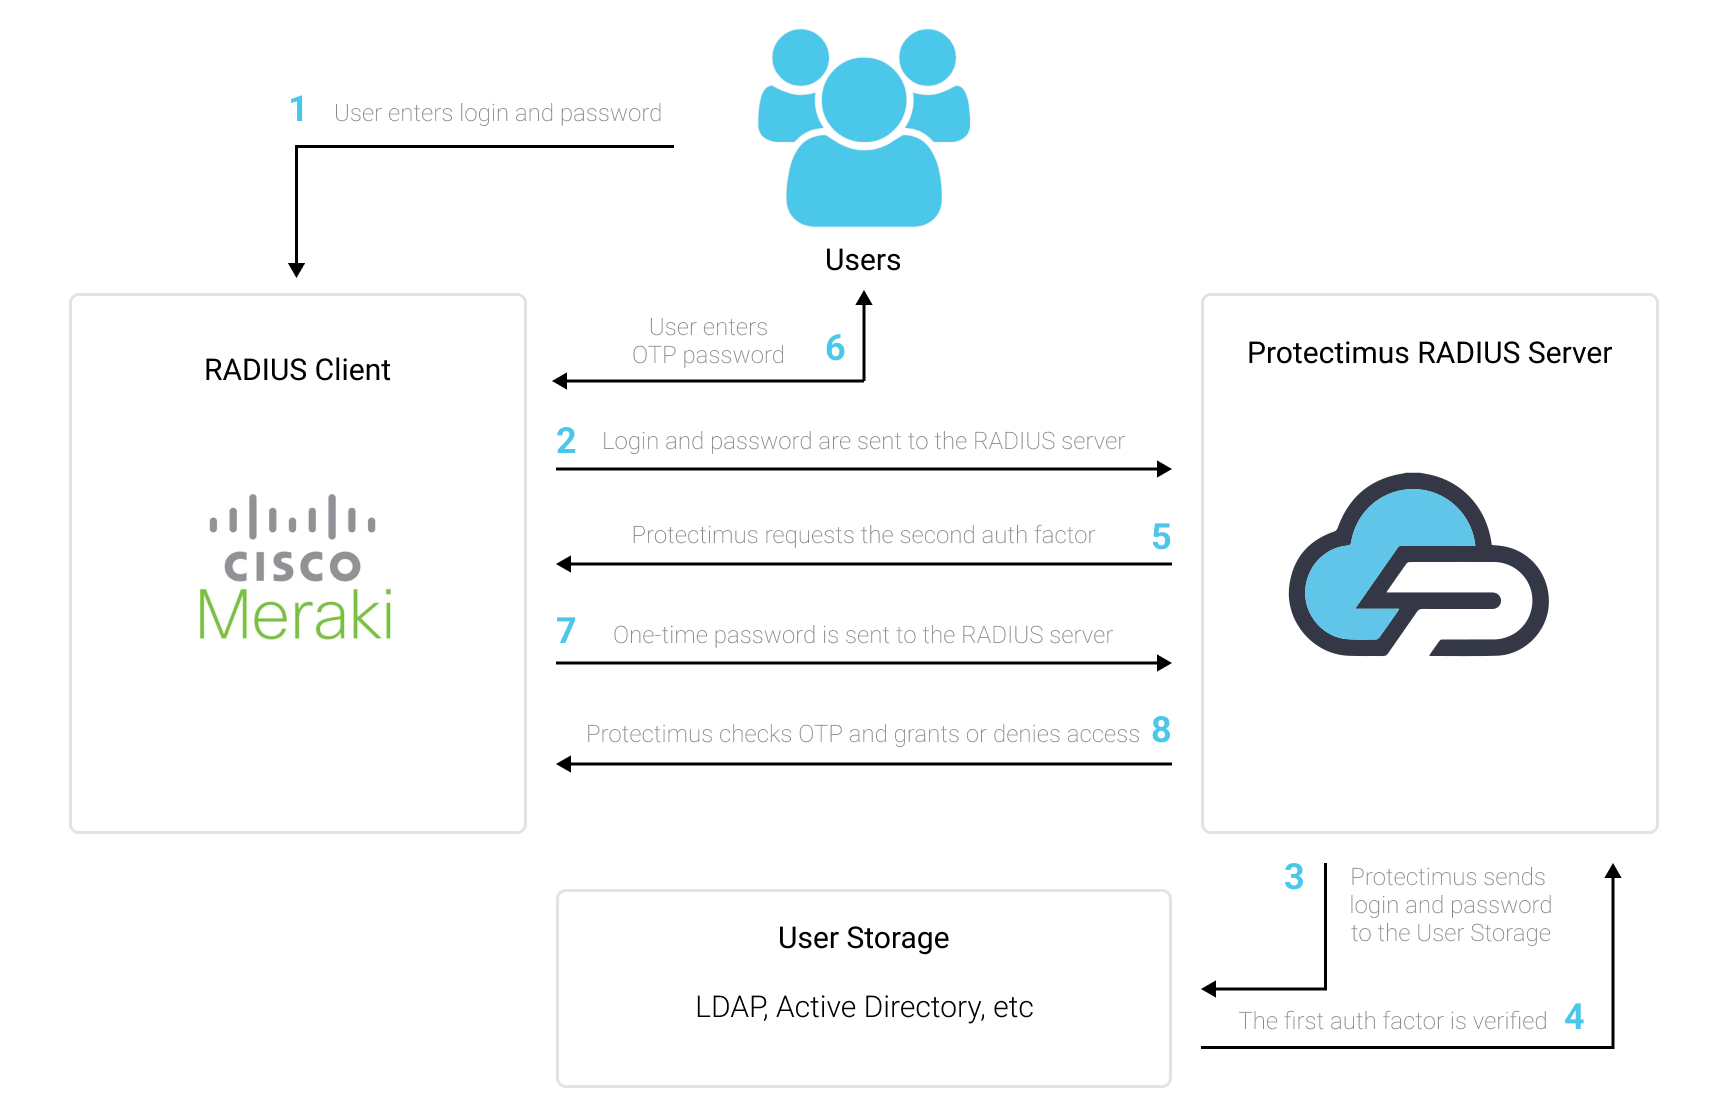
The scheme of work of the Protectimus solution for Cisco Meraki Client VPN two-factor authentication is presented below.

Protectimus’ Two-Factor Authentication Solution for Cisco Meraki Client VPN adds an additional layer of security, effectively thwarting unauthorized access attempts to your VPN.
Upon enabling two-factor authentication (2FA) on your Cisco Meraki Client VPN server, users will be required to provide two separate authentication factors to access their accounts.
When implementing 2FA/MFA for Cisco Meraki VPN, users will need to provide:
To compromise a Cisco Meraki Client VPN protected by two-factor authentication (2FA/MFA), a hacker would need to obtain both a standard password and a one-time password simultaneously, with only a 30-second window to intercept the latter. This nearly impossible task highlights the remarkable effectiveness of two-factor authentication against most hacking attempts.
You can set up multi-factor authentication (2FA) for Cisco Meraki with Protectimus using the RADIUS protocol:
- Get registered with Protectimus SAAS Service or install the On-Premise 2FA Platform and configure basic settings.
- Install and configure Protectimus RADIUS Server.
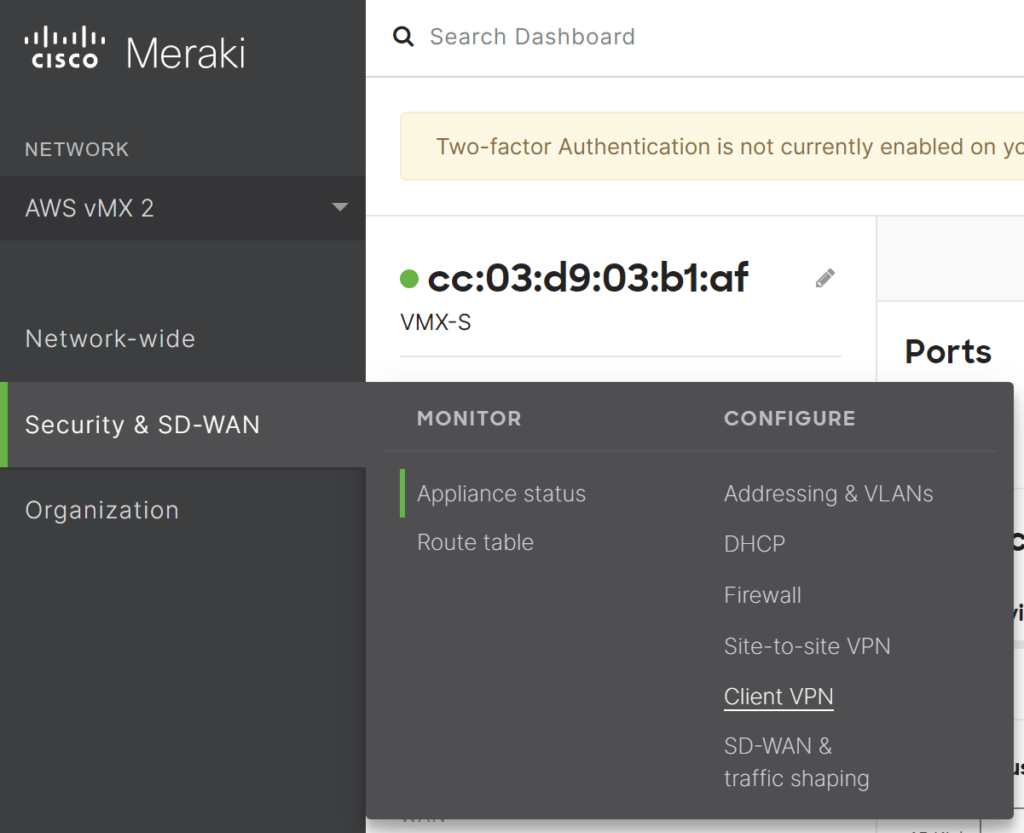
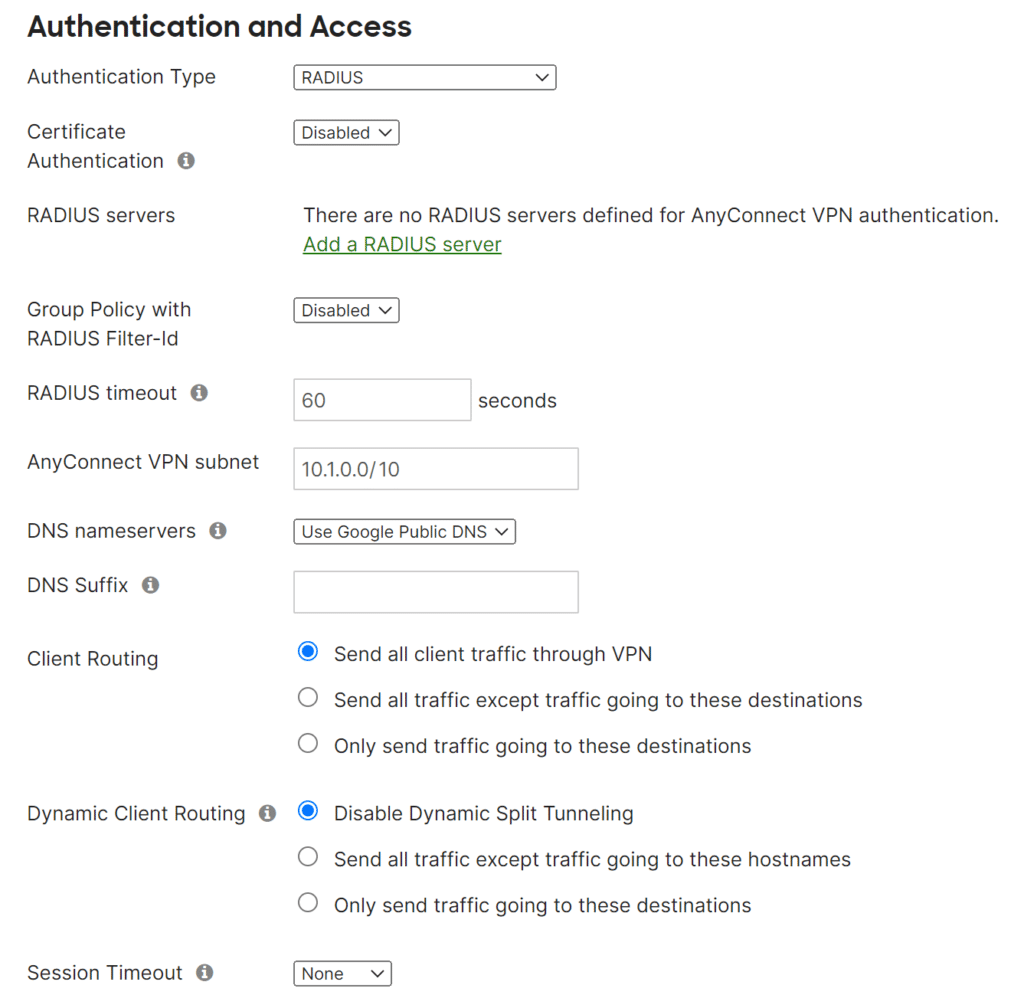
- Add Protectimus as RADIUS Server for Cisco Meraki Client VPN.
Detailed instructions for installing and configuring the Protectimus RADIUS Server for Cisco Meraki VPN 2-factor authentication using RADIUS are available in our Protectimus RADIUS Server Installation Guide for Cisco Meraki Client VPN 2FA..


Integration of two-factor authentication (2FA/MFA) for your Cisco Meraki VPN is now complete.
If you have other questions, contact Protectimus customer support service.
Protectimus Ltd
Carrick house, 49 Fitzwilliam Square,
Dublin D02 N578, Ireland
Ireland: +353 19 014 565
USA: +1 786 796 66 64
Protectimus Ltd
Carrick house, 49 Fitzwilliam Square,
Dublin D02 N578, Ireland
Ireland: +353 19 014 565
USA: +1 786 796 66 64


