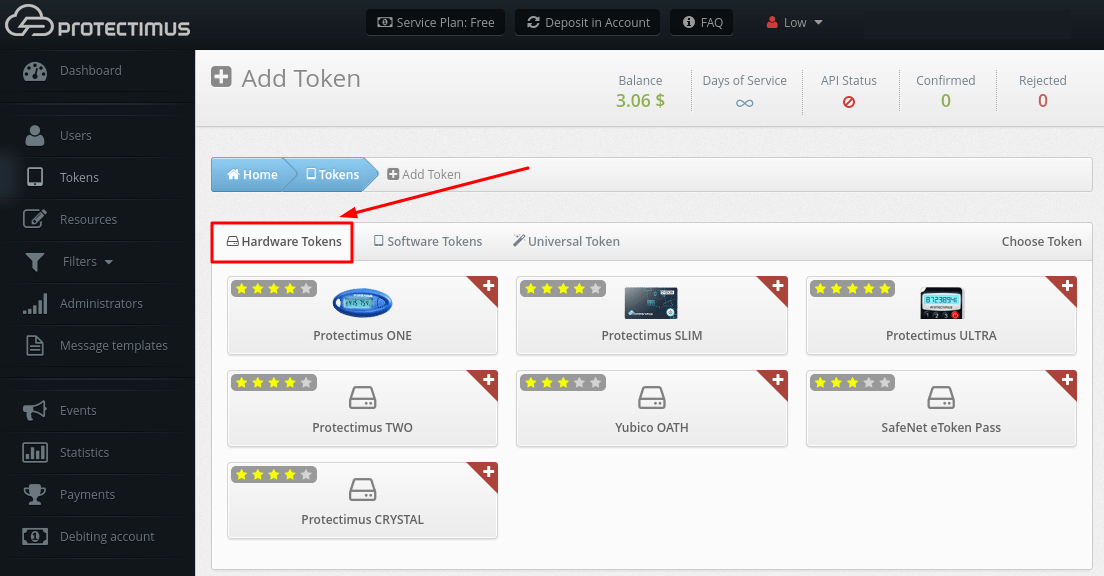
Програмований апаратний TOTP-токен у форматі карти
Класичні апаратні TOTP-токени SHA-1 з попередньо встановленими секретними ключами
Програмований апаратний TOTP-токен у форматі брелока
Класичний апаратний TOTP-токен з підтримкою алгоритму SHA-256
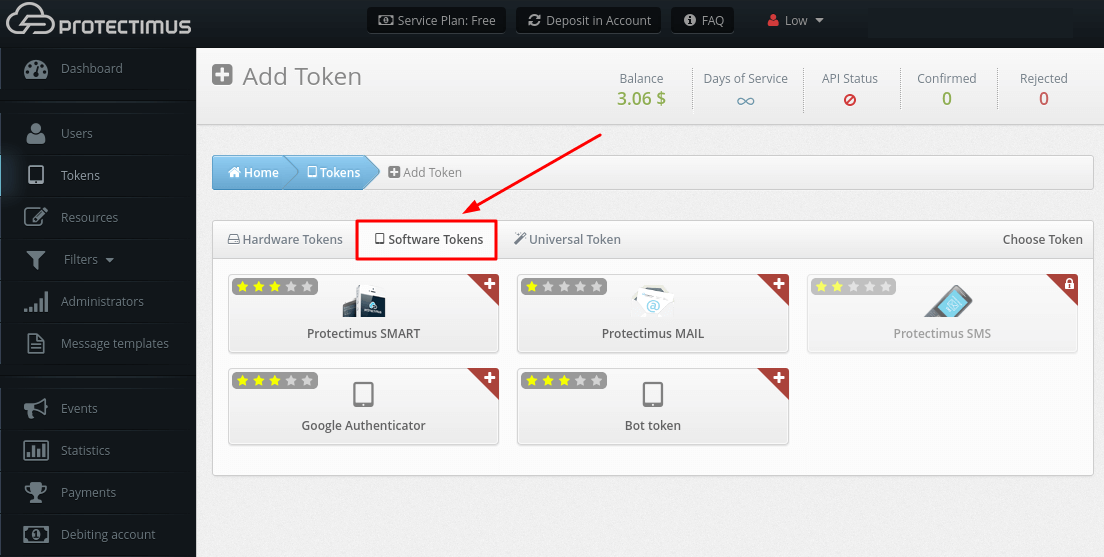
Безкоштовний застосунок для двофакторної автентифікації з хмарним резервним копіюванням, простим перенесенням токенів на новий телефон, PIN-кодом і біометричною автентифікацією
Безкоштовна доставка OTP через чат-ботів у месенджерах
Доставка одноразових паролів за допомогою SMS-повідомлень
Безкоштовна доставка одноразових паролів електронною поштою
Доставка одноразових паролів через push-повідомлення
Інструкції
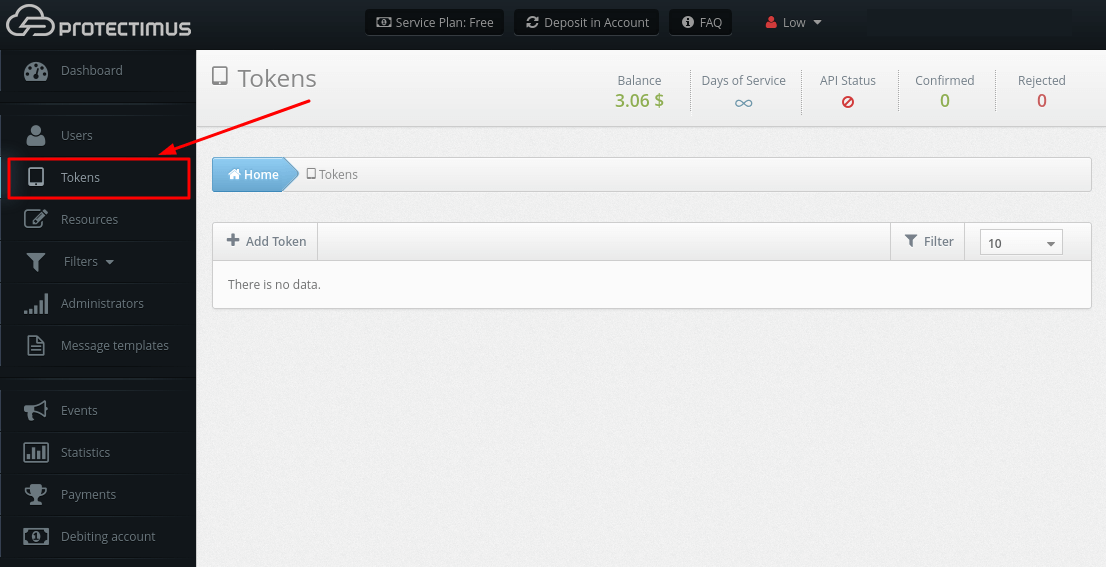
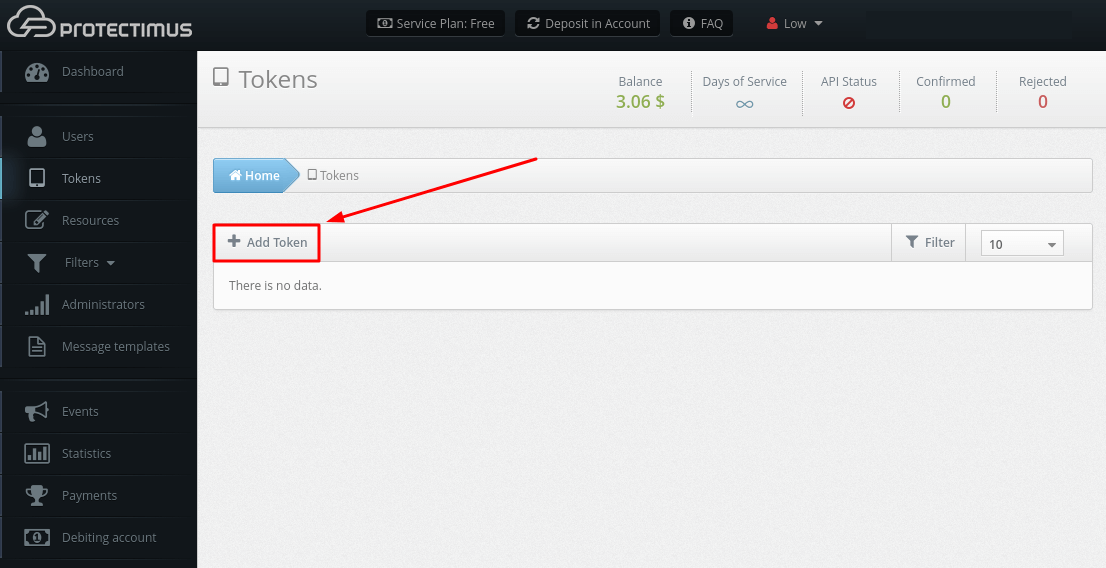
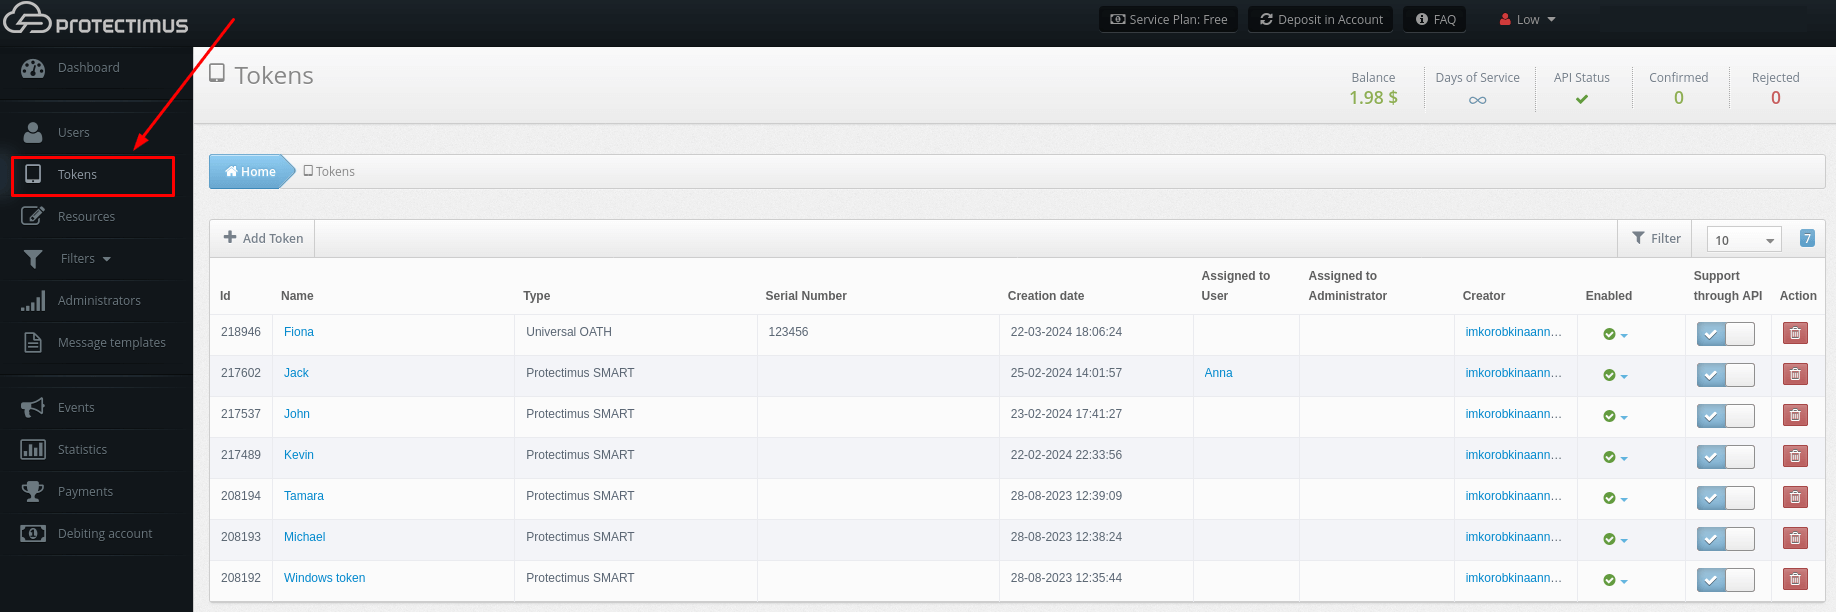
Перейдіть на сторінку Токени щоб дізнатися більше про OTP-токени, які ми підтримуємо. Ви можете міксувати будь-які типи токенів, які вам потрібні.
ЗВЕРНІТЬ УВАГУ! Щоб не додавати всі токени вручну, ви можете активувати Портал самообслуговування користувачів який дозволяє користувачам самостійно випускати, реєструвати та керувати своїми токенами.
УВАГА! Один Користувач може використовувати лише один Токен для автентифікації на одному Ресурсі. Кількість Токенів, які ви можете додати, залежить від обраного вами Тарифного плану.
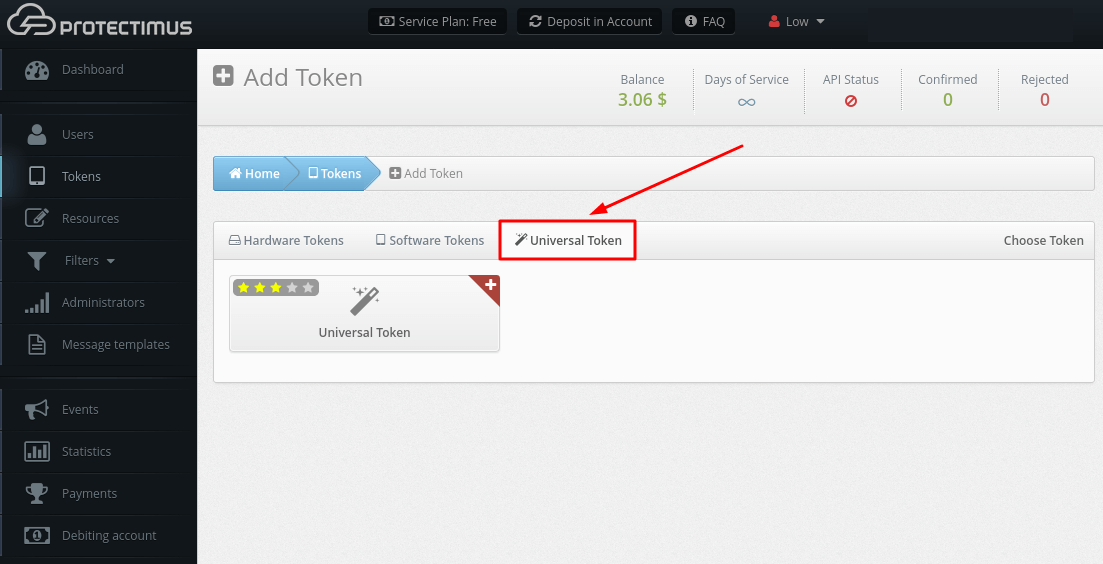
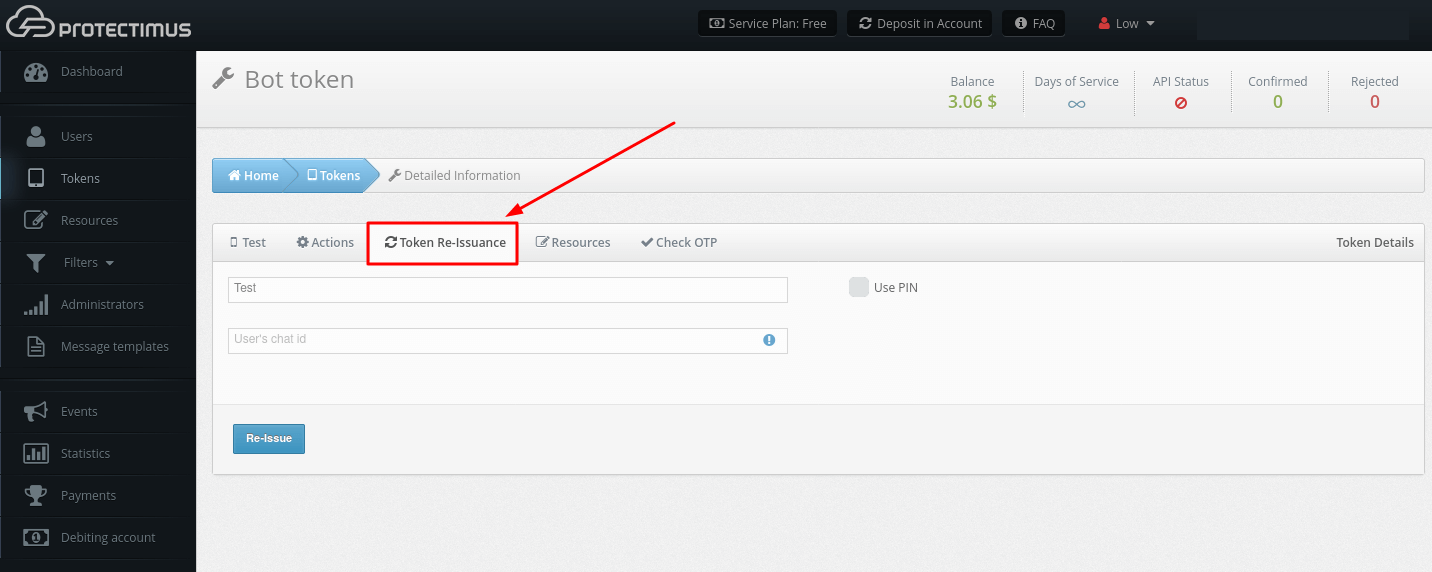
ЗВЕНІТЬ УВАГУ! Ви також можете використовувати PIN-код разом з будь-яким типом токена на ваш вибір. Якщо ви активуєте функцію PIN-коду, користувачеві потрібно буде ввести PIN-код у полі введення разом з одноразовим паролем (до або після одноразового пароля, залежно від налаштувань адміністратора). Одноразовий пароль і PIN-код вводяться в одному рядку без пробілів чи інших символів між ними. Це забезпечує додатковий рівень захисту облікового запису користувача.
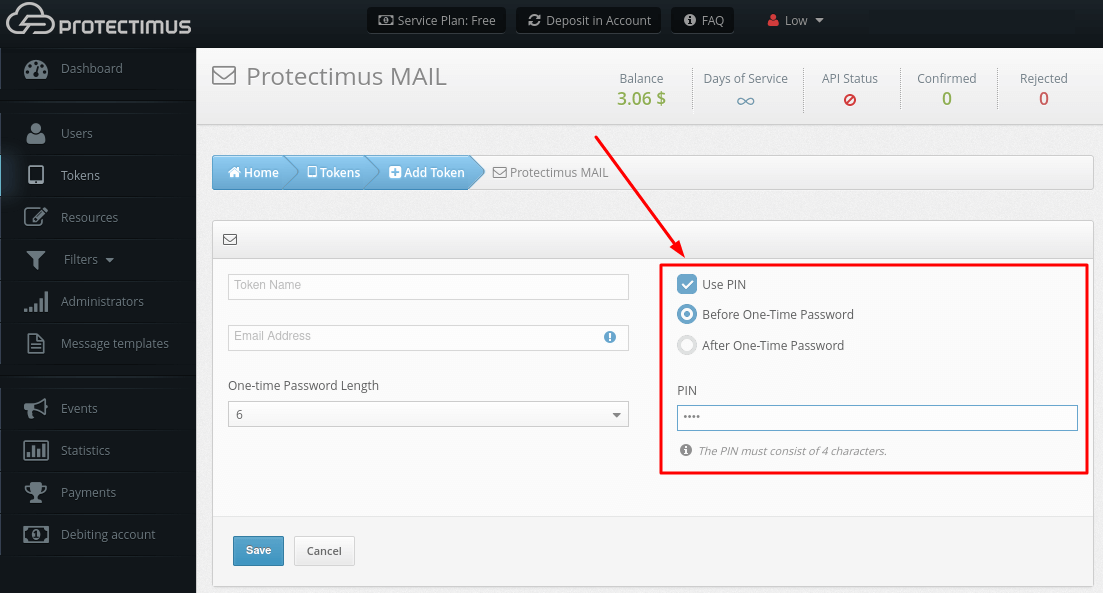
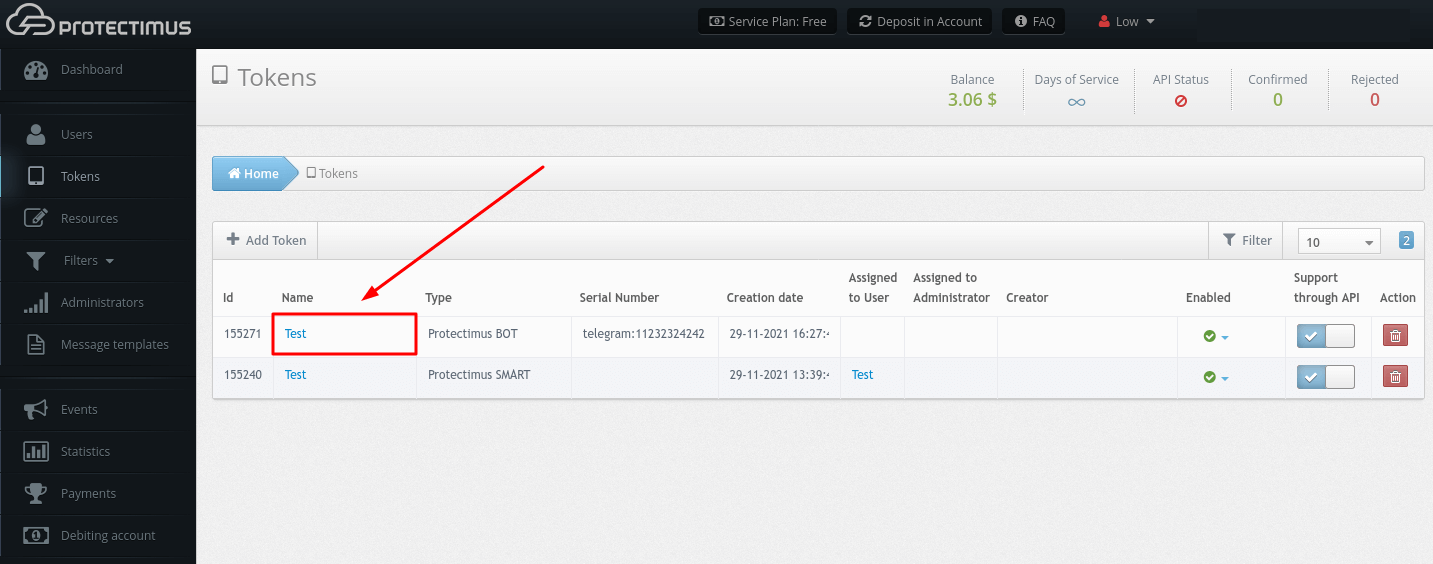
УВАГА! Після додавання токена необхідно призначити його конкретному Користувачеві та призначити Токен з Користувачем на ресурс.

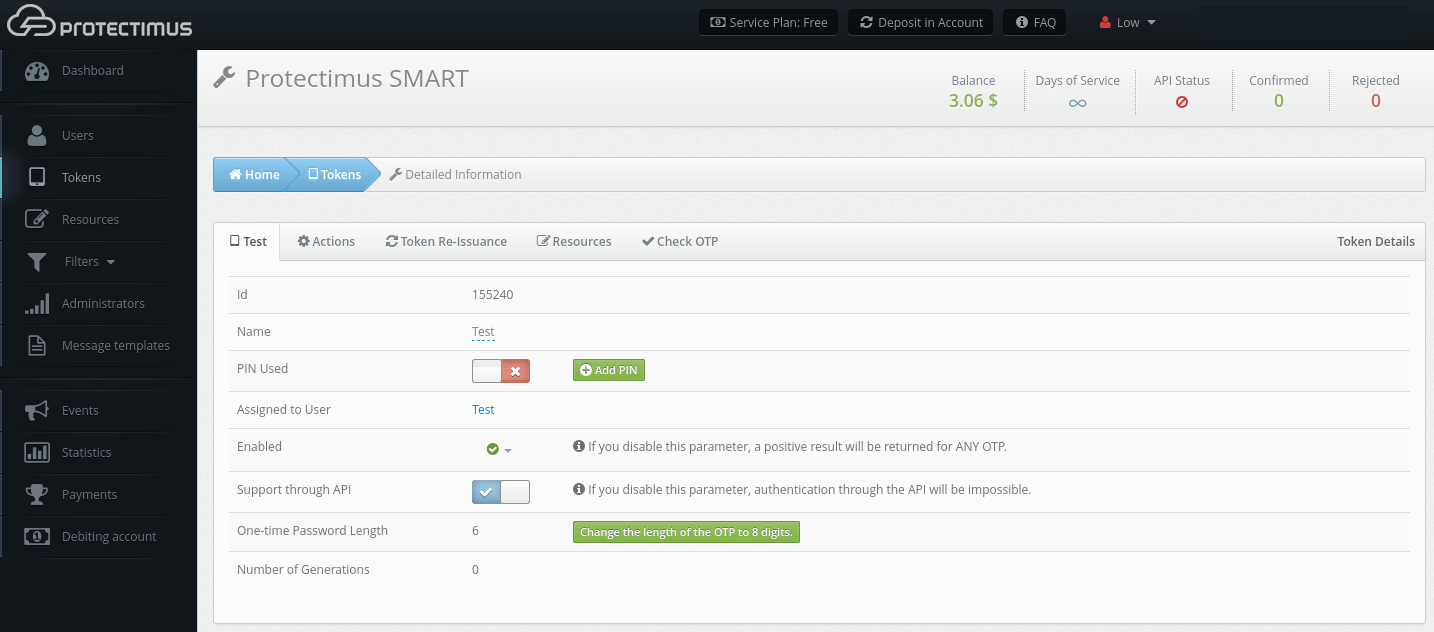

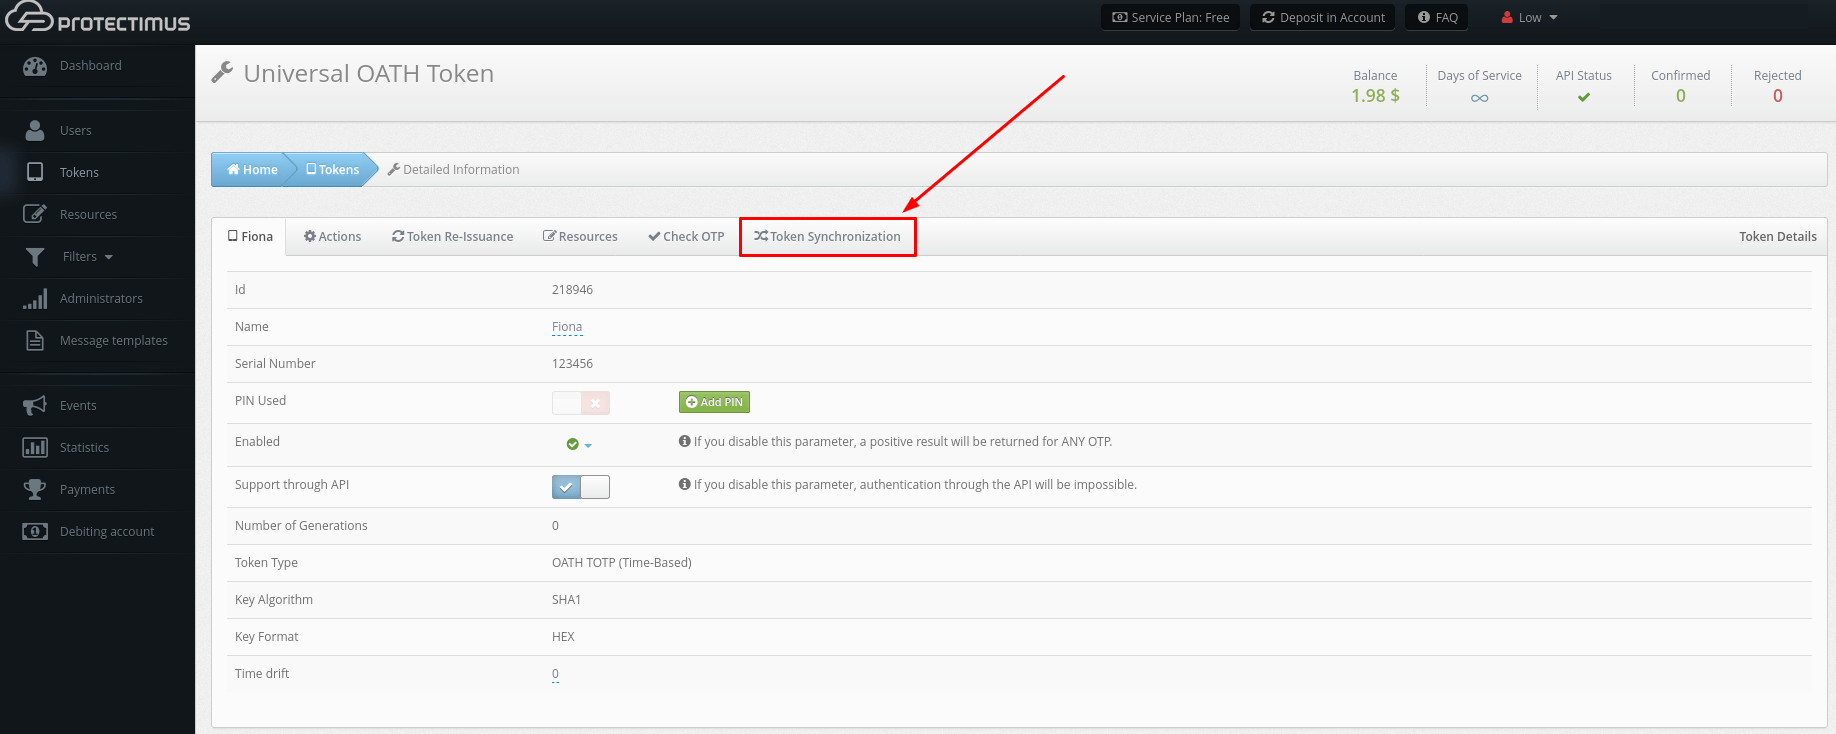
УВАГА! Коли ви вимкнете цей параметр, позитивний результат буде повертатися для БУДЬ-ЯКОГО OTP.
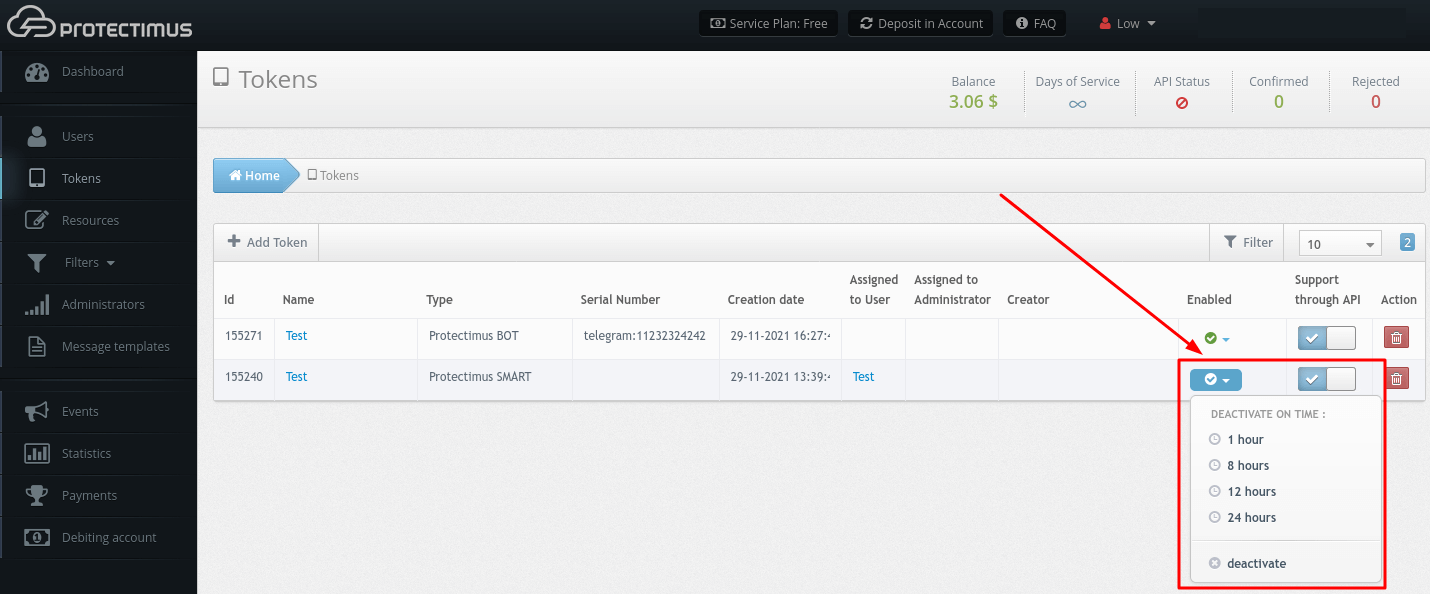


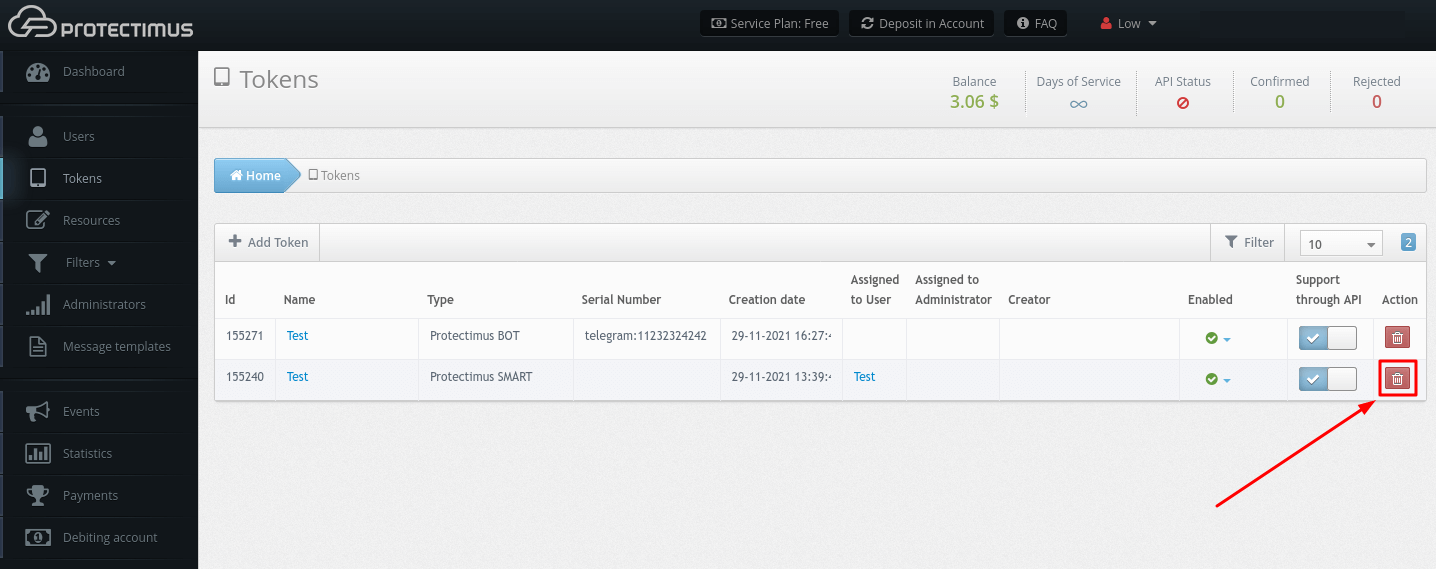
ЗВЕРНІТЬ УВАГУ! Тільки адміністратор, який додав цей токен, або головний адміністратор може видалити токени.



Protectimus Ltd
Carrick house, 49 Fitzwilliam Square,
Dublin D02 N578, Ireland
Ірландія: +353 19 014 565
США: +1 786 796 66 64
Protectimus Ltd
Carrick house, 49 Fitzwilliam Square,
Dublin D02 N578, Ireland
Ірландія: +353 19 014 565
США: +1 786 796 66 64


