Програмований апаратний TOTP-токен у форматі карти
Класичні апаратні TOTP-токени SHA-1 з попередньо встановленими секретними ключами
Програмований апаратний TOTP-токен у форматі брелока
Класичний апаратний TOTP-токен з підтримкою алгоритму SHA-256
Програмований апаратний TOTP-токен у форматі карти
Класичні апаратні TOTP-токени SHA-1 з попередньо встановленими секретними ключами
Програмований апаратний TOTP-токен у форматі брелока
Класичний апаратний TOTP-токен з підтримкою алгоритму SHA-256
Безкоштовний застосунок для двофакторної автентифікації з хмарним бекапом, простим перенесенням токенів на новий телефон, PIN-кодом і біометричною автентифікацією
Безкоштовна доставка OTP через чат-ботів у месенджерах
Доставка одноразових паролів за допомогою SMS-повідомлень
Безкоштовна доставка одноразових паролів електронною поштою
Доставка одноразових паролів через push-повідомлення
Інструкції
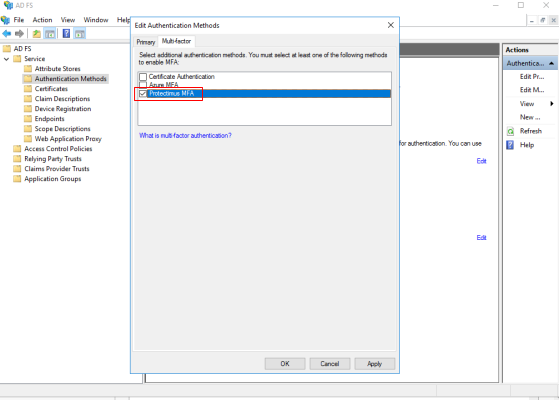
УВАГА! При інтеграції системи багатофакторної автентифікації Protectimus з ADFS користувачі в сервісі або платформі Protectimus повинні мати логіни виду login@domain.com
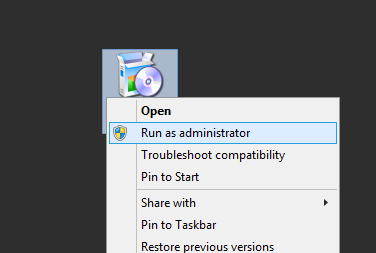
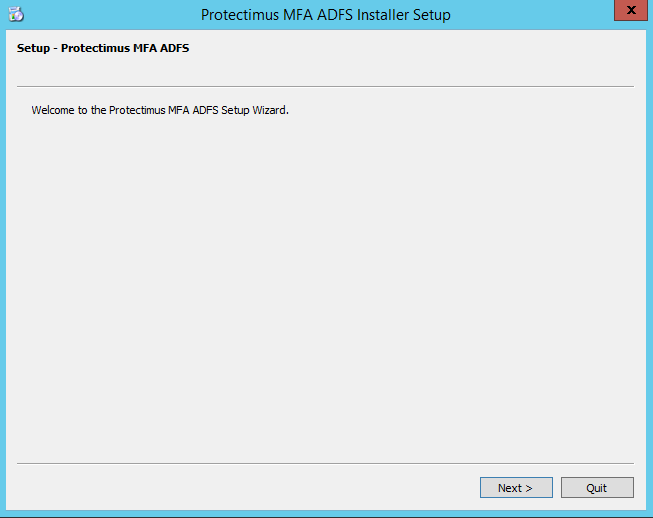
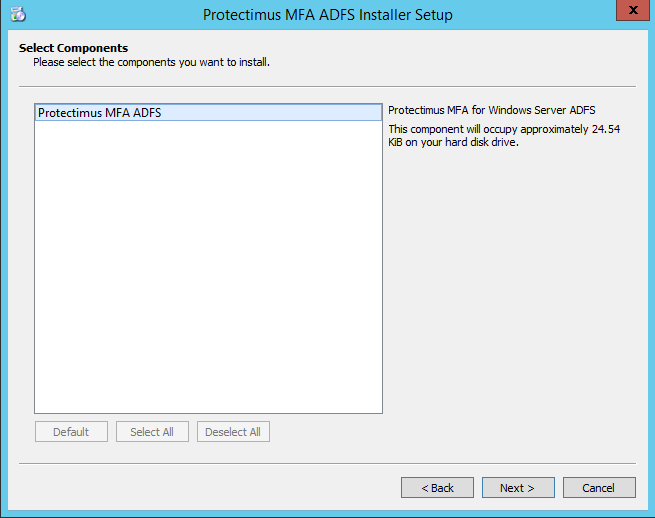
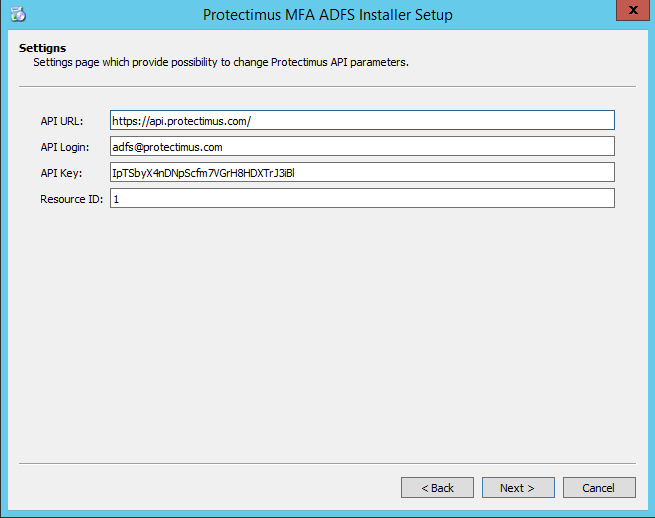
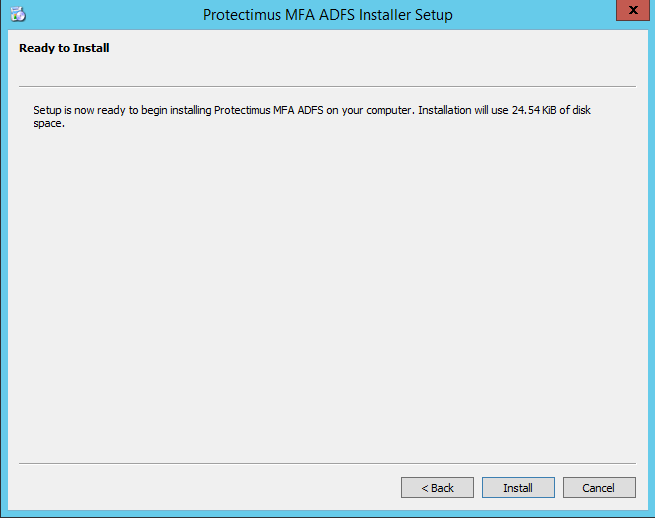
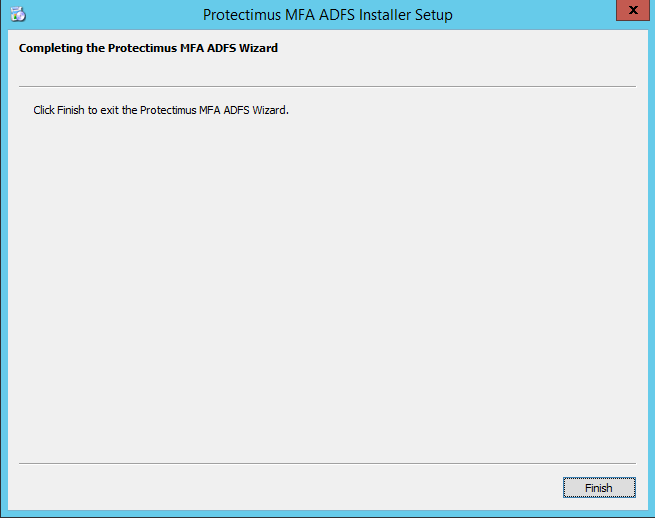
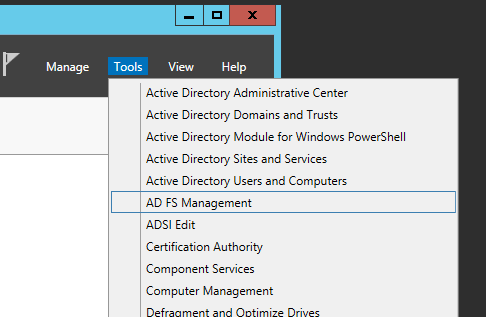
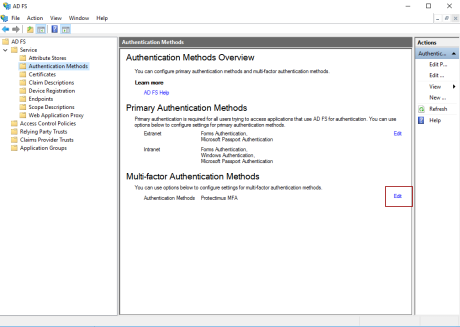
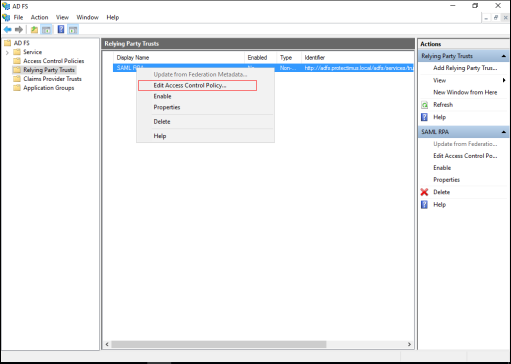
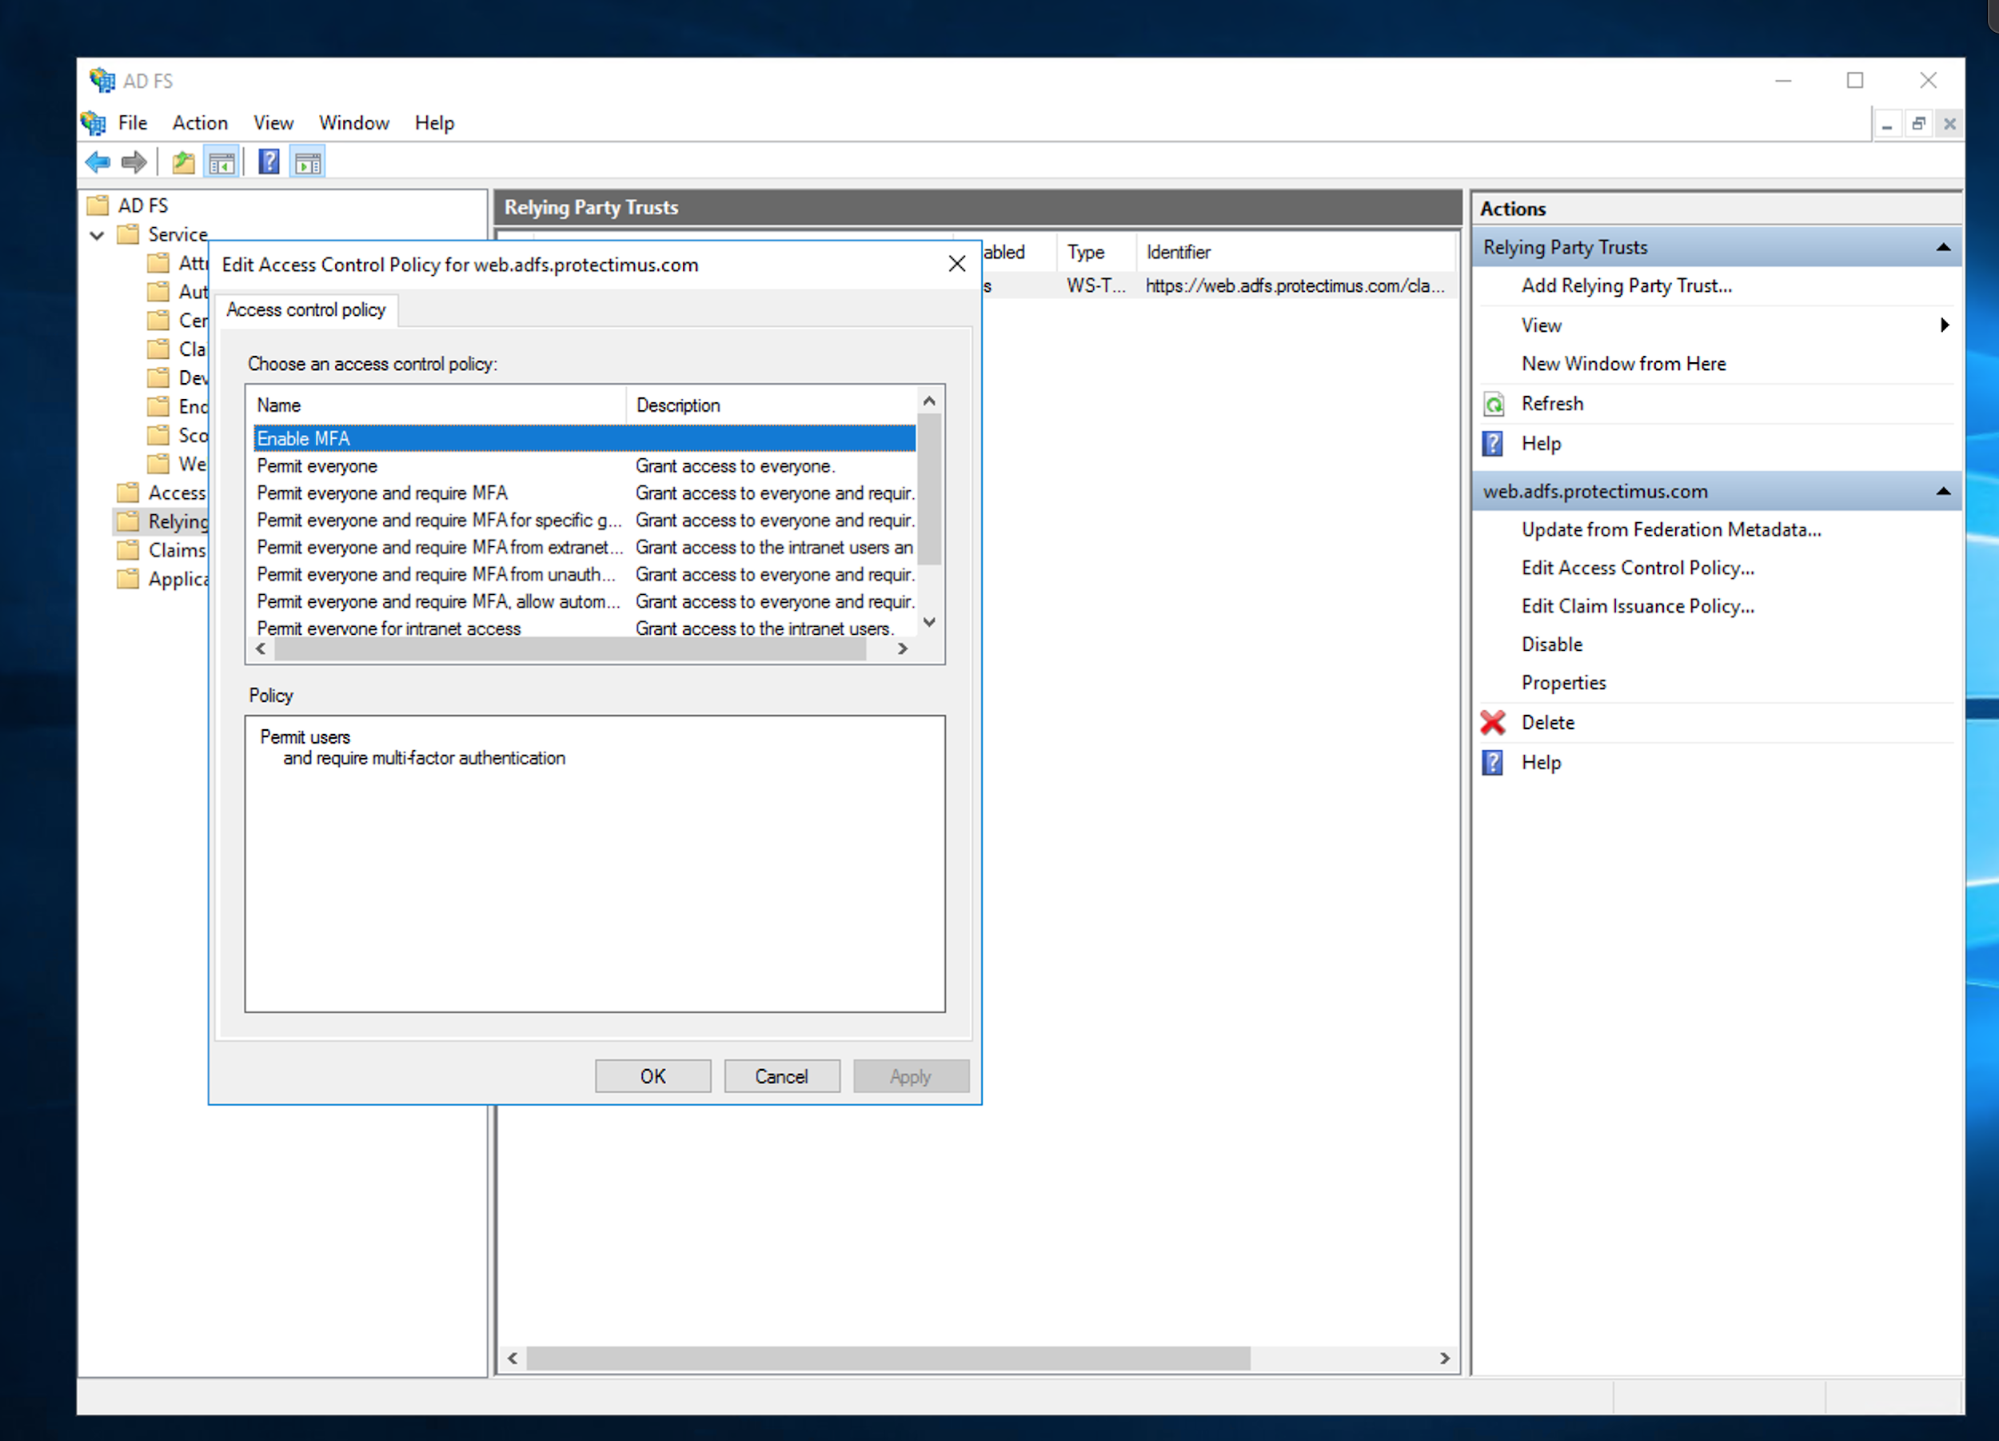
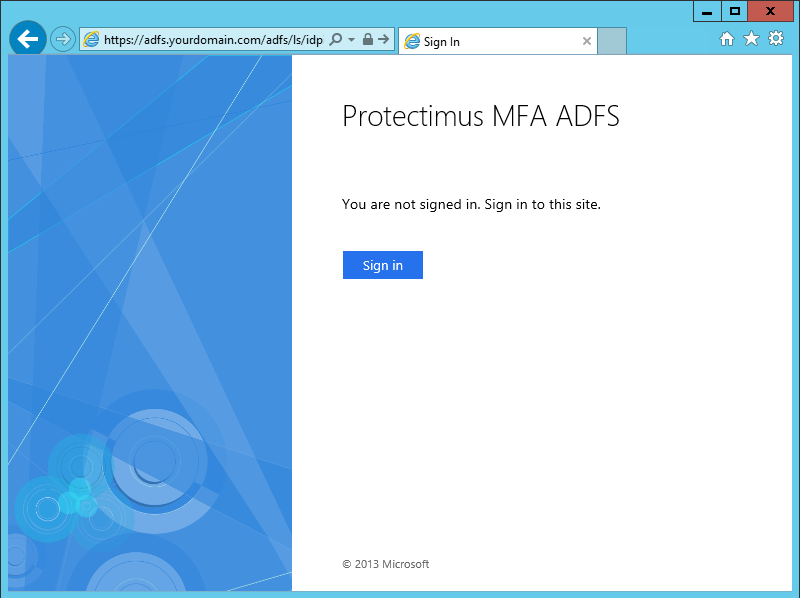
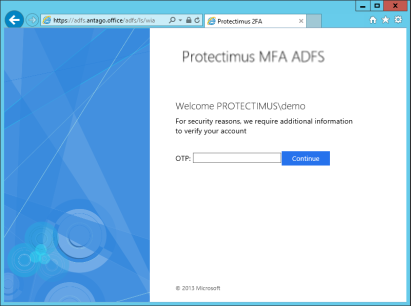
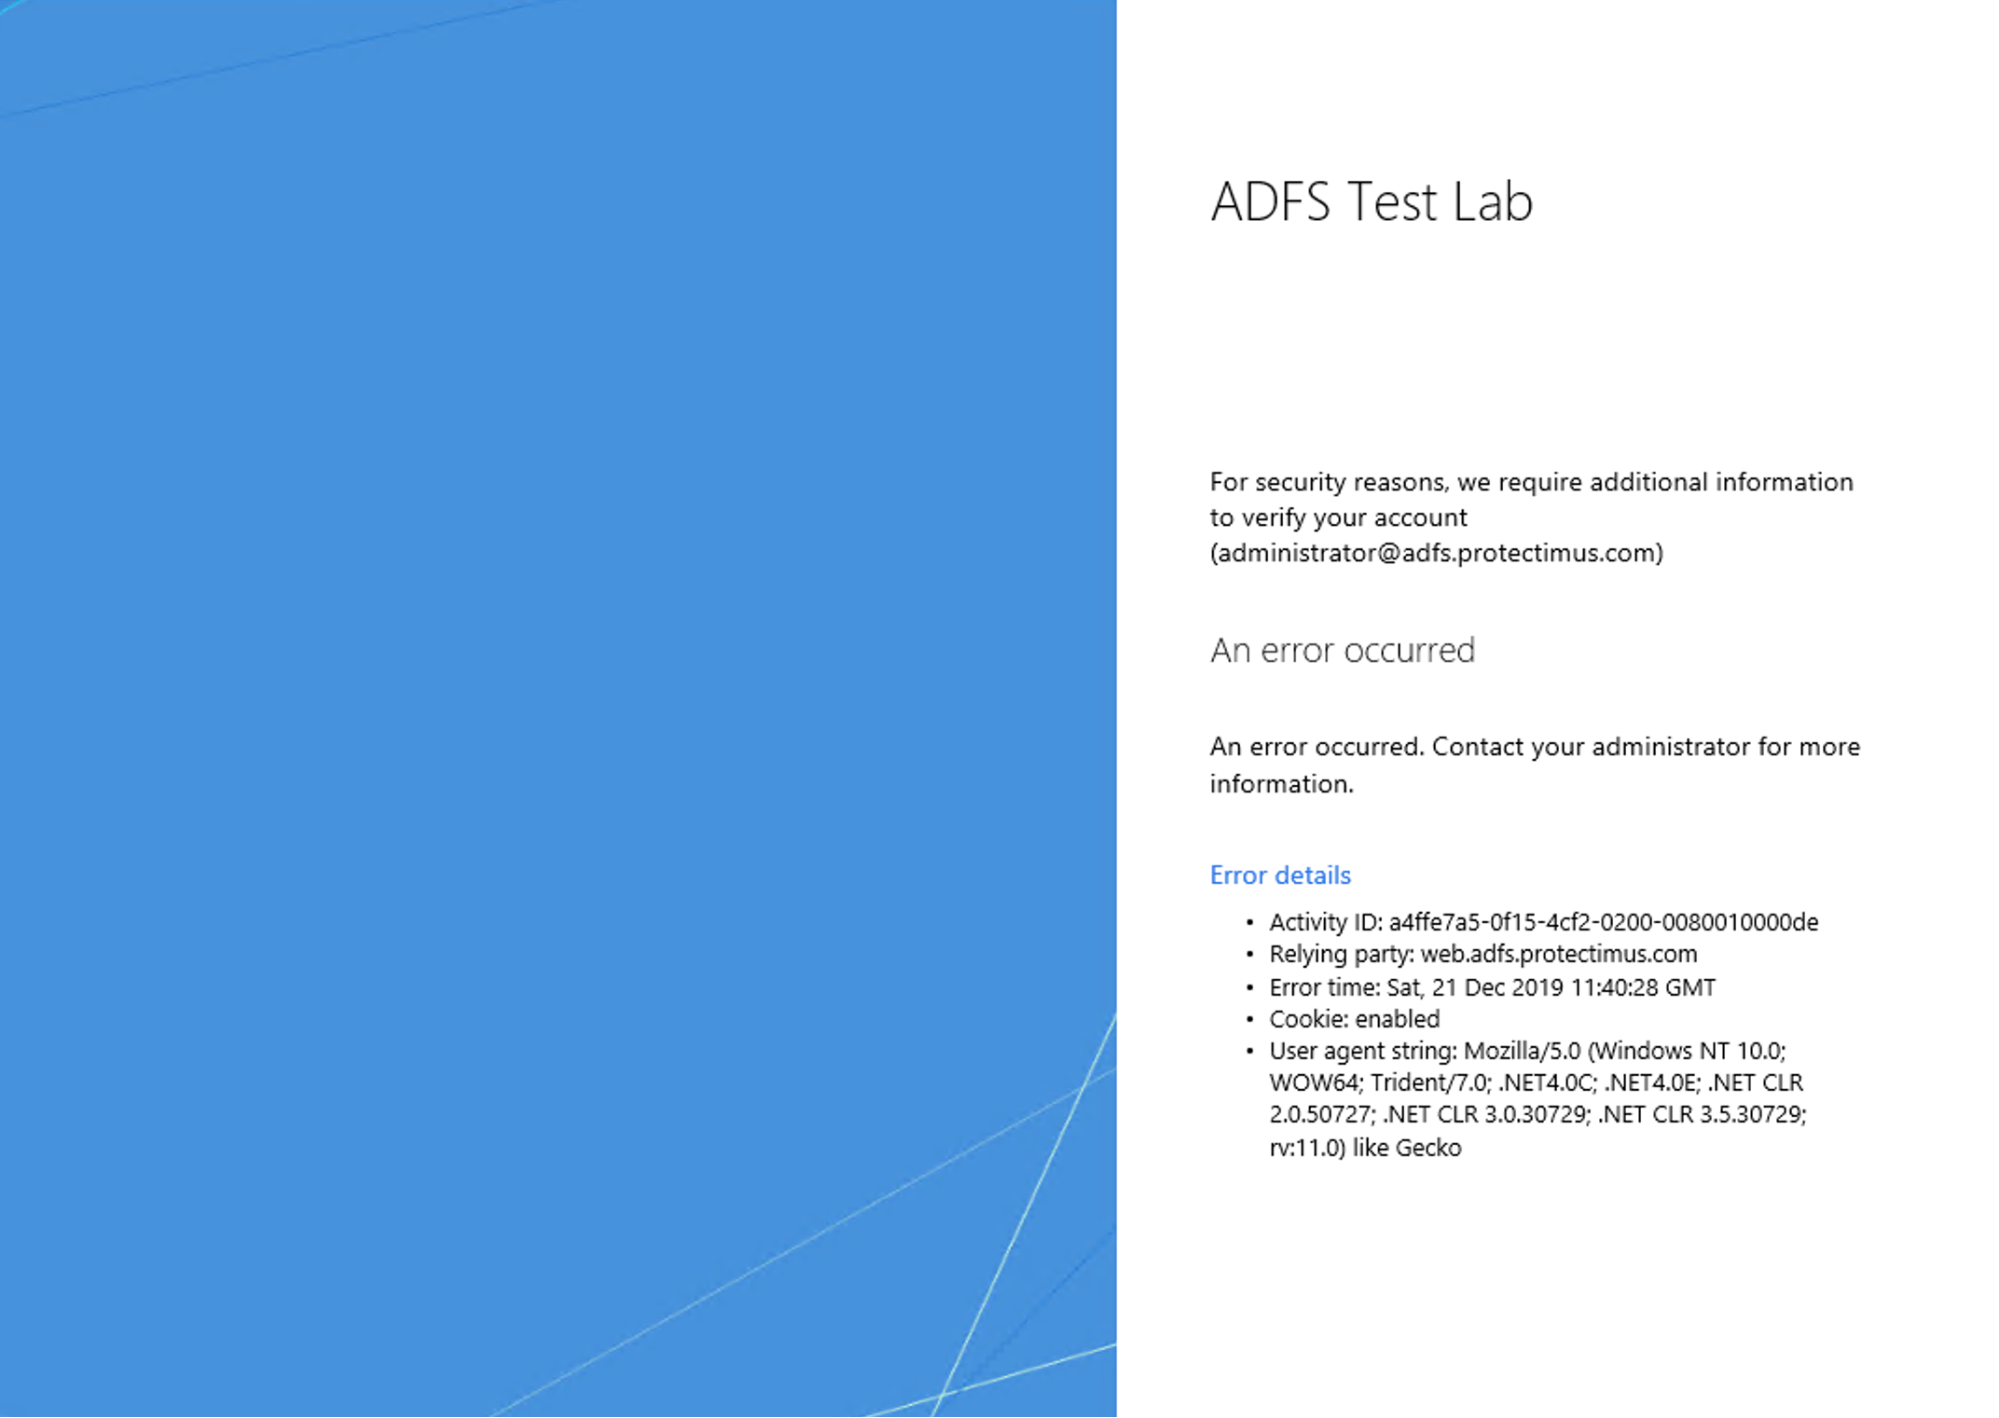
eventcreate /ID 1 /L APPLICATION /T INFORMATION /SO "Protectimus MFA ADFS" /D "Init"Protectimus Ltd
Carrick house, 49 Fitzwilliam Square,
Dublin D02 N578, Ireland
Ірландія: +353 19 014 565
США: +1 786 796 66 64
Protectimus Ltd
Carrick house, 49 Fitzwilliam Square,
Dublin D02 N578, Ireland
Ірландія: +353 19 014 565
США: +1 786 796 66 64


